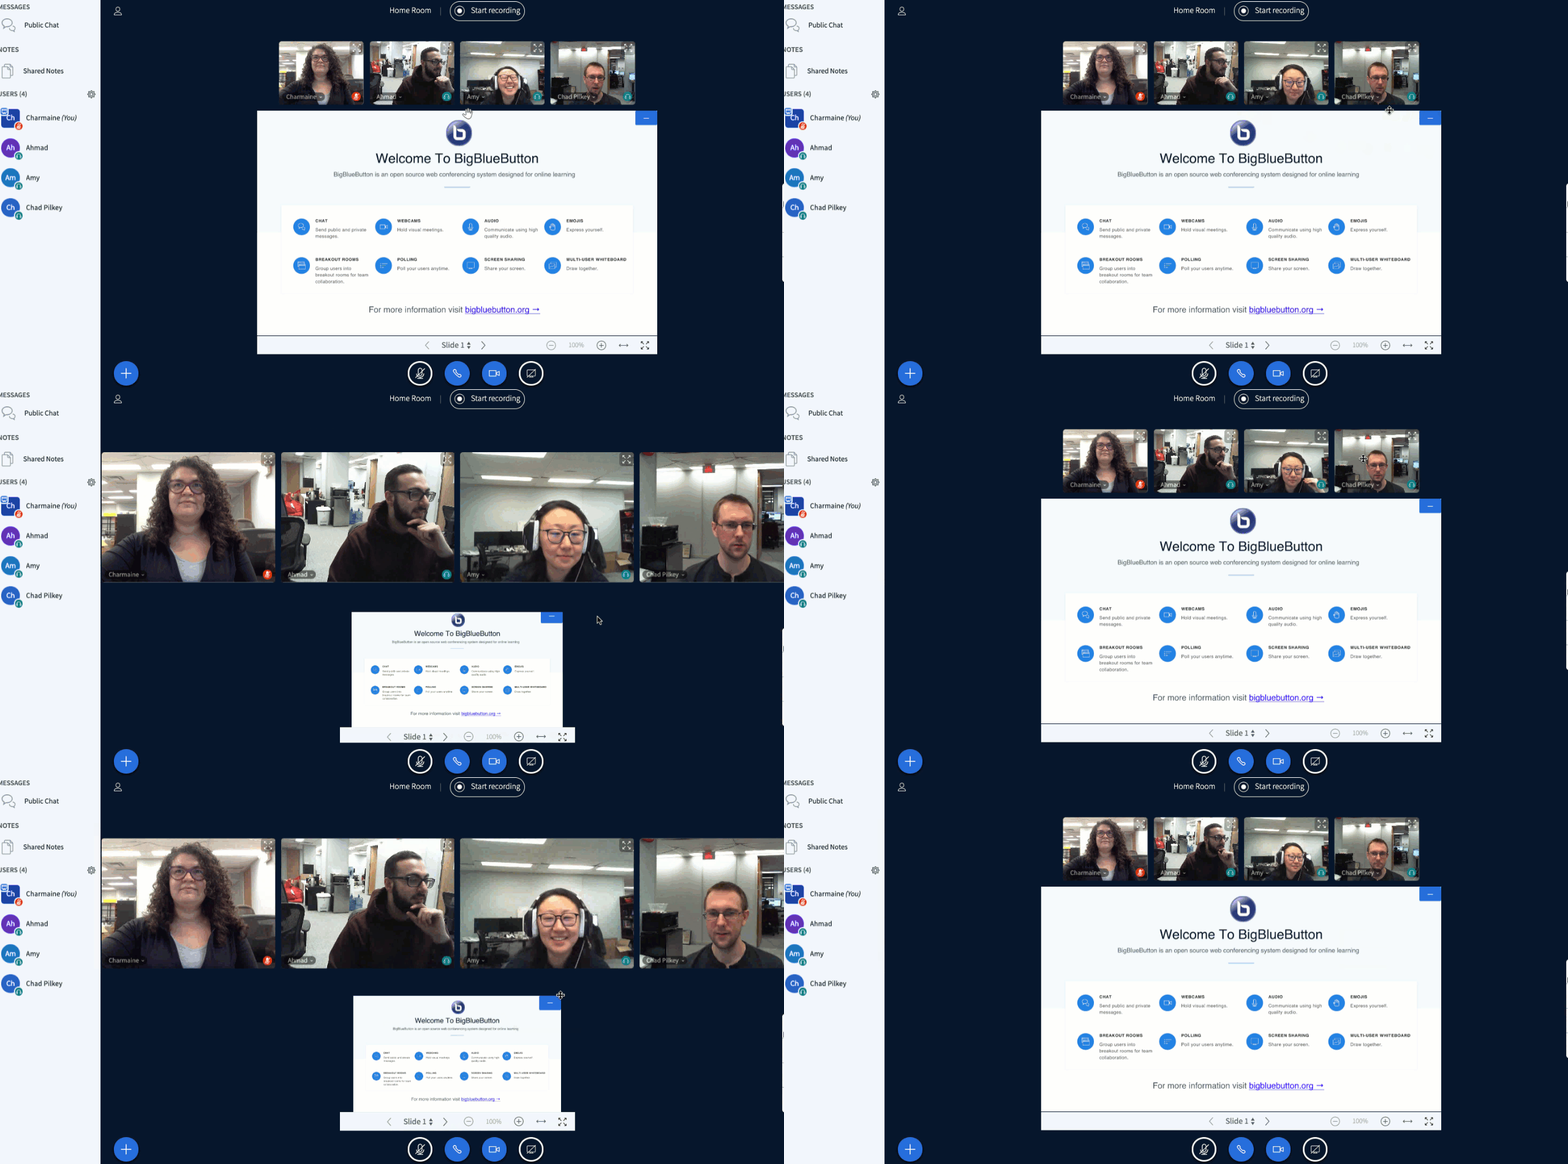
This article covers how to upload and manage your files and presentations within BBB. Further down the page, you will find instructions on how to adjust the layout as well.
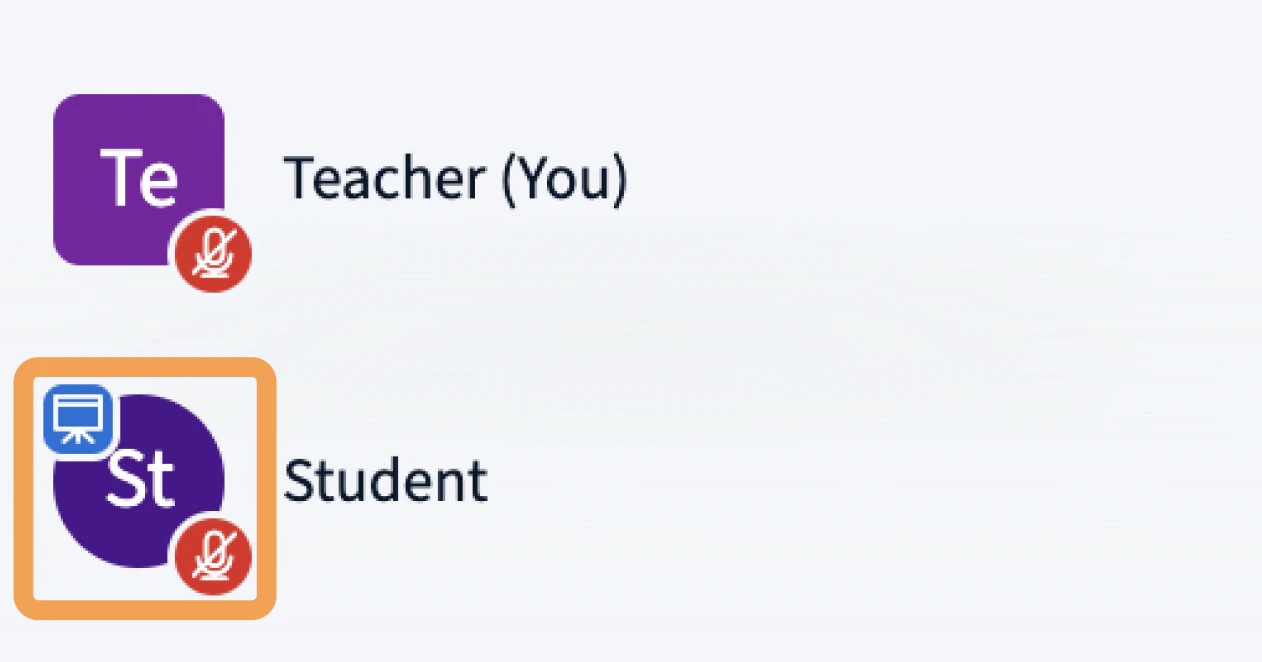
In order to upload documents and enable them for download you must first have the presenter role.
Presenters can navigate slides, zoom and fit content, and enable the multi-user whiteboard for everyone in the session. Presenters can navigate slides, zoom and fit content, and enable the multi-user whiteboard for everyone.
Confirm your presenter role
By default, the first moderator to enter the session receives the presenter role. If you are a viewer, request the presenter role from a moderator before continuing.
Verify document size and format
Each document can be up to 30 MB or 150 pages. You can upload multiple documents as long as each one is under those limits. BigBlueButton accepts:
- Office documents —
.doc,.docx,.pptx - Text documents —
.txt - Images —
.png,.jpg - Adobe Acrobat documents —
.pdf
For the best results, convert your documents to PDF before uploading.
Upload a presentation
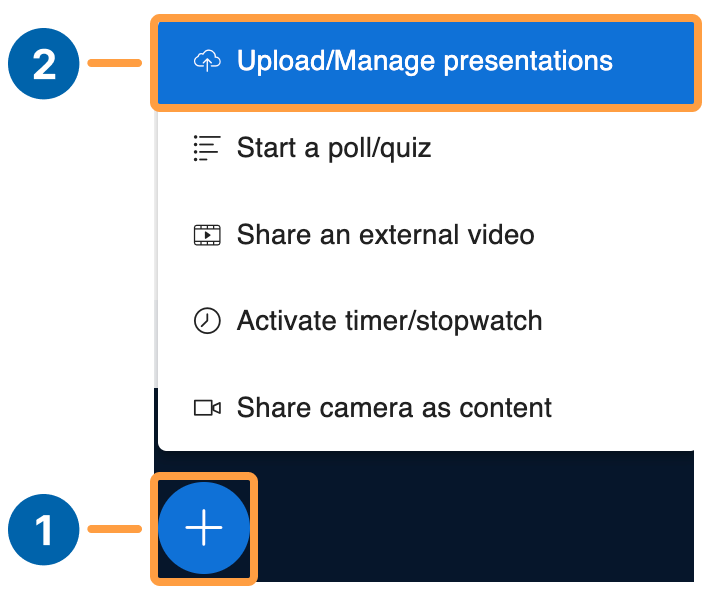
To open the uploader, select the Actions menu [1] in the lower-left corner of the presentation window, then Upload/Manage presentations [2].
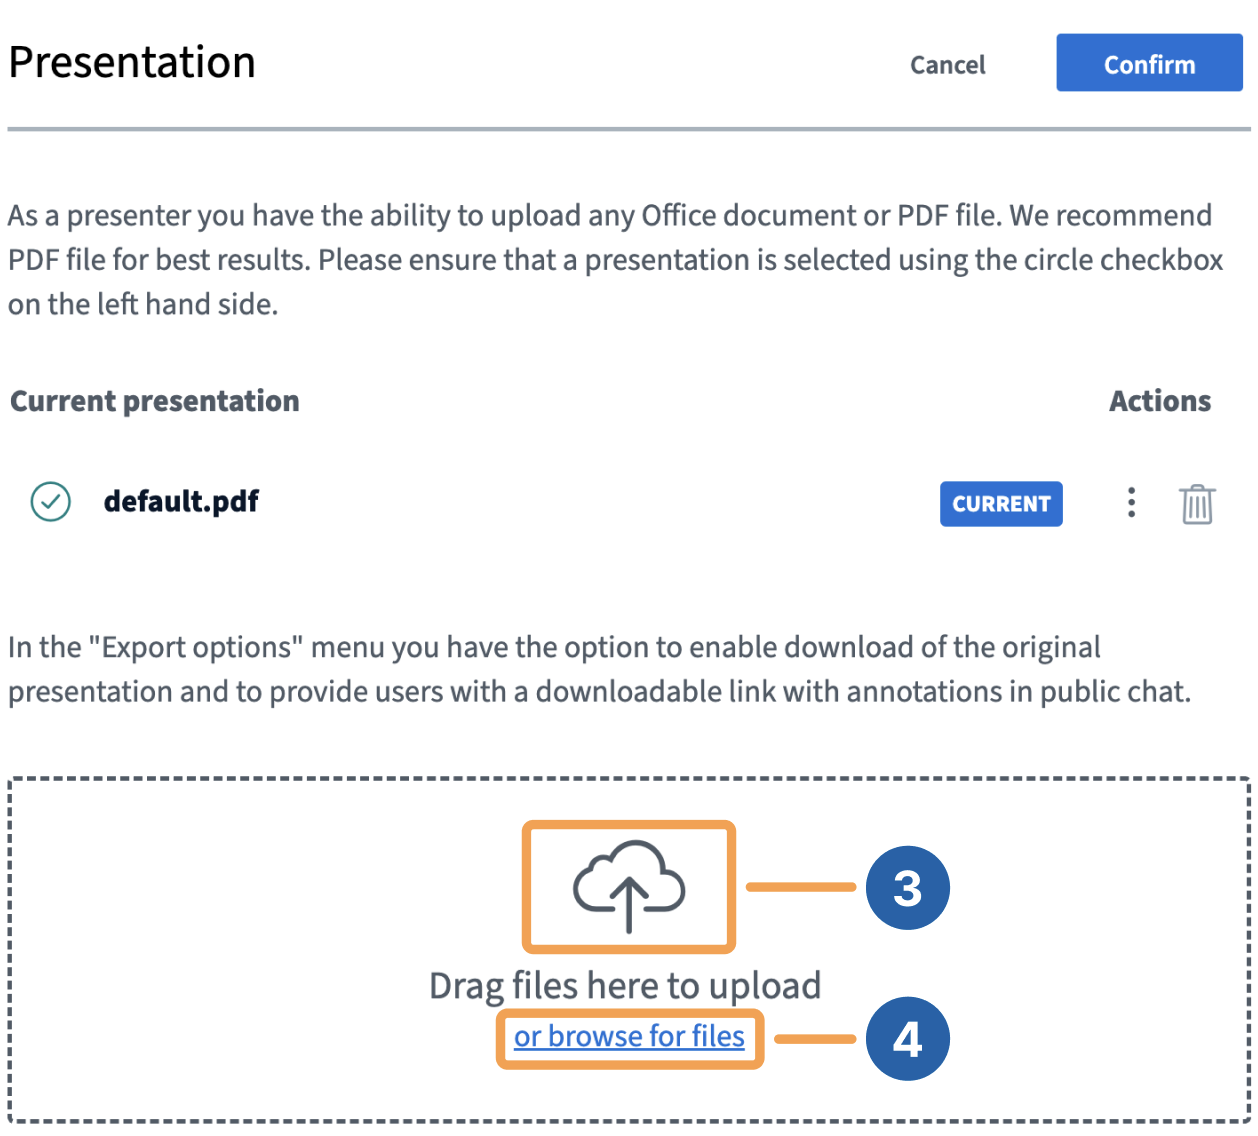
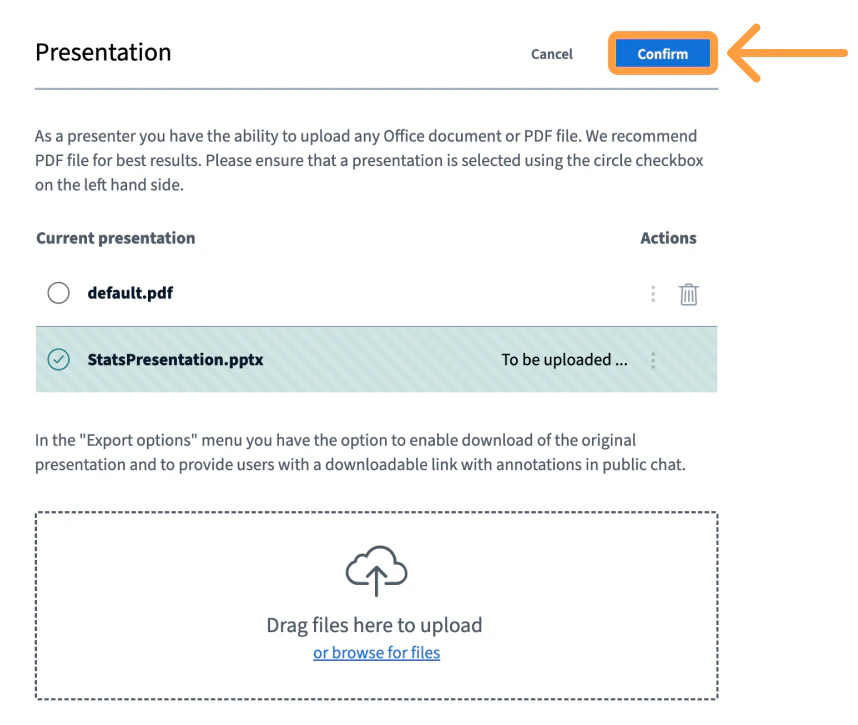
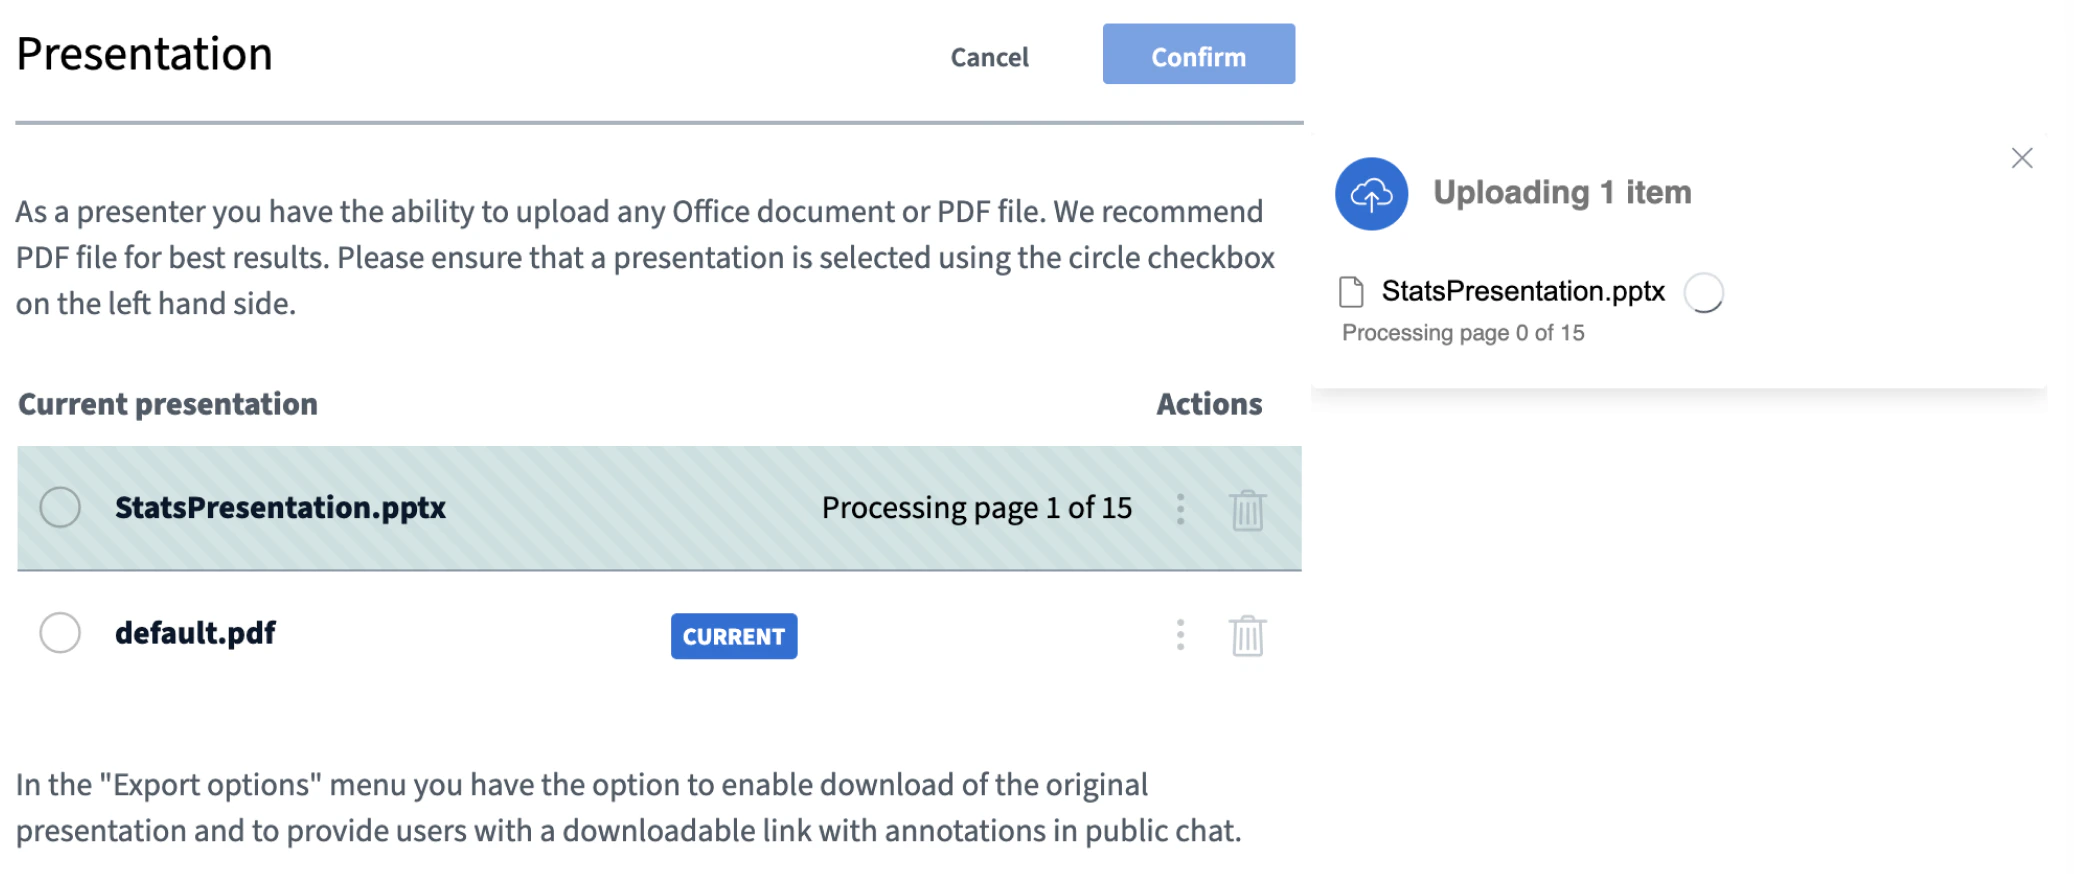
A prompt confirms the upload while BigBlueButton converts the files. You can return to Upload/Manage presentations at any time to change which presentation is shown. Larger documents take longer to convert and load.
Navigate slides
Once content is uploaded into the presentation area, you can control how it displays and which slide is shown.
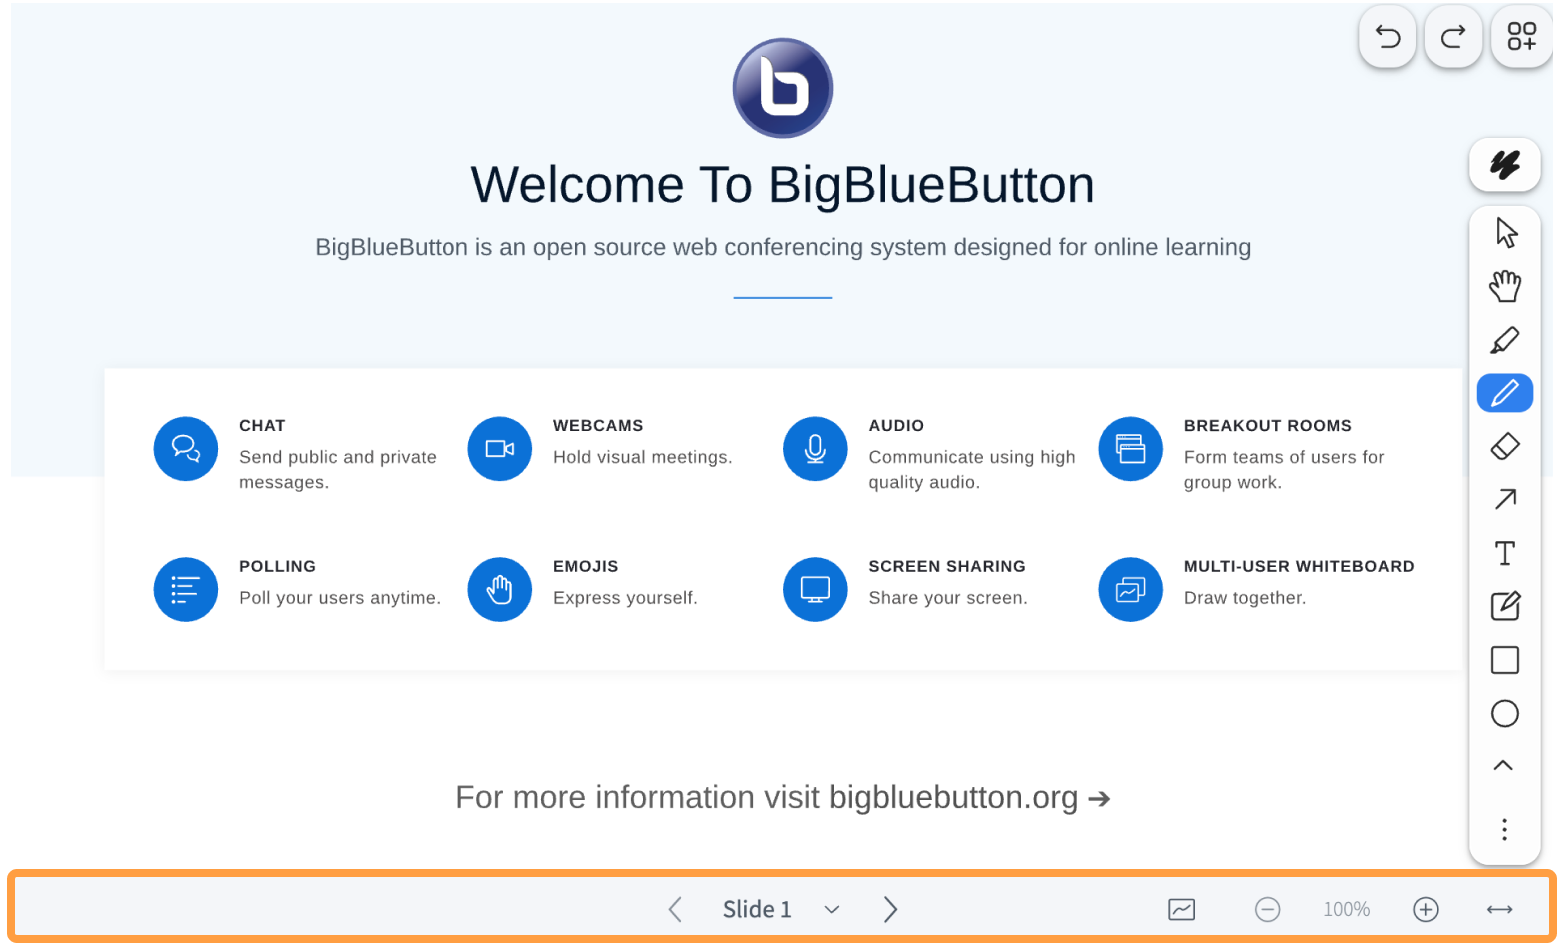
The presenter’s slide control panel sits below the presentation display, above the media controls.
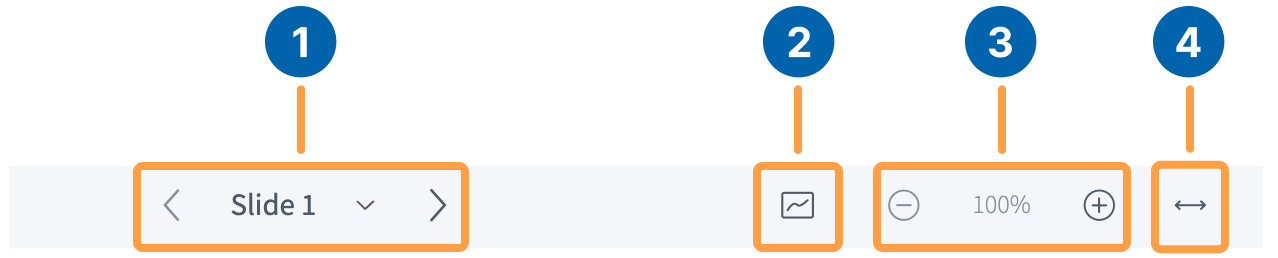
To move through your slides, use the Slide Navigator [1]:
- Select the forward arrow (
>) to advance. - Select the backward arrow (
<) to go back. - Select a slide number from the dropdown to jump to a specific slide.
Enable the multi-user whiteboard
To let every user annotate the slide, select the multi-user whiteboard button [2].
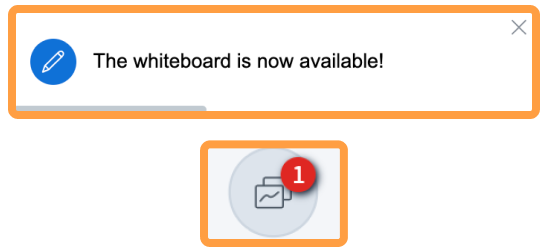
A prompt appears in the upper-right corner confirming that multi-user mode is on, and the multi-user whiteboard icon highlights in the toolbar.
Zoom and fit content
The presenter control panel also includes zoom and fit options:
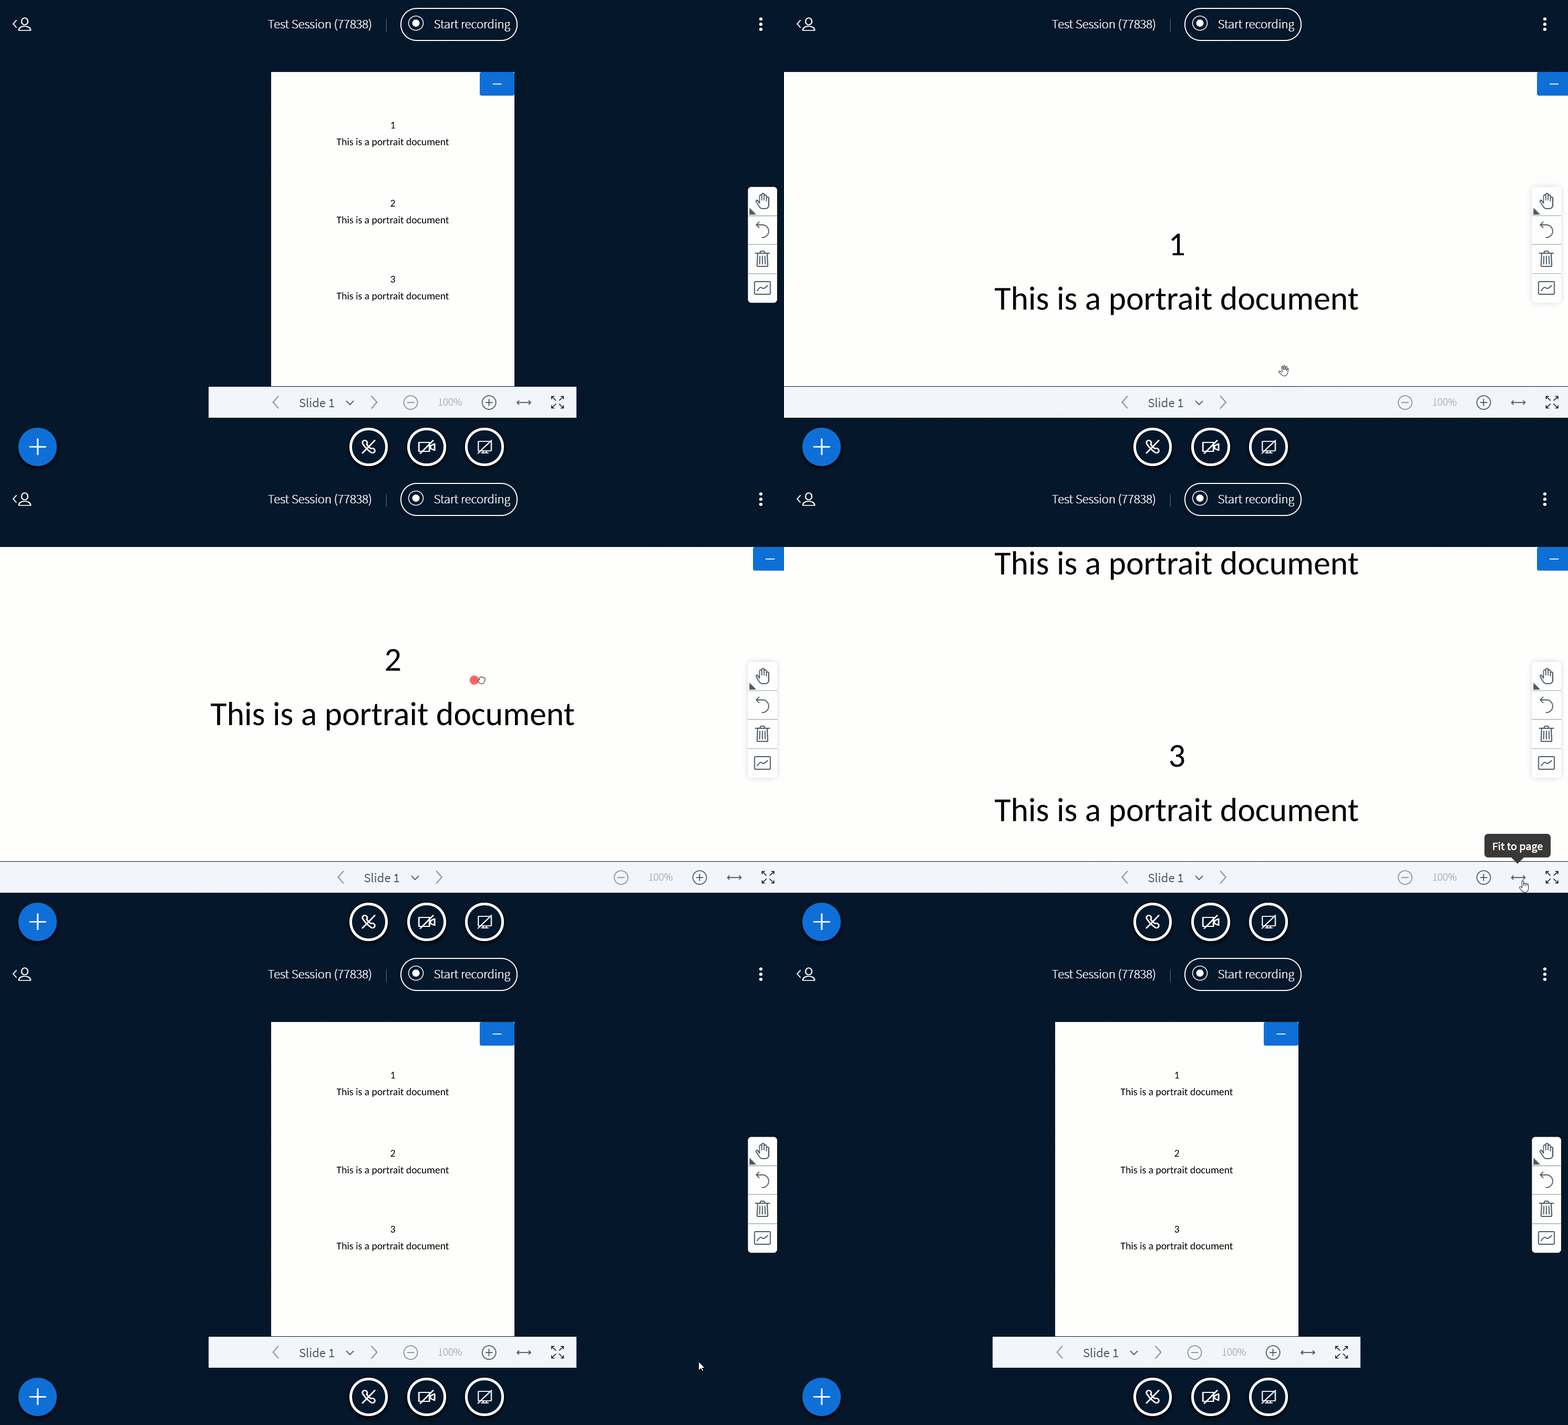
- Zoom in (+) or Zoom out (-) [3] — change the zoom level of the slide.
- Fit-to-Width [4] — fit the slide to the width of the presentation area.
Select the Actions menu [1] in the lower left hand corner of the presentation window, then choose a presentation from one of the already uploaded options [2].
Make the presentation area fullscreen
You can make the presentation area fullscreen by clicking the three dots in the upper right-hand corner and selecting Fullscreen Application. To exit fullscreen press the escape key.
Minimize/Maximize the presentation area
You can minimize and maximize the presentation area by clicking the presentation icon in the bottom right.
Hide/Unhide the user list, public chat, shared notes
You can hide/unhide the user list. public chat, shared notes, and any other panel that opens on the left-hand side of the window, by pressing the icon or panel title.
Close the presentation/enlarge the webcams
Any user can close the presentation area to enlarge shared webcams, or disable incoming webcams to save bandwidth.
Any user can close the presentation to give shared webcams the full screen — useful for a video chat-style session. You can also disable incoming webcams to save bandwidth on a slow connection.
Close the presentation
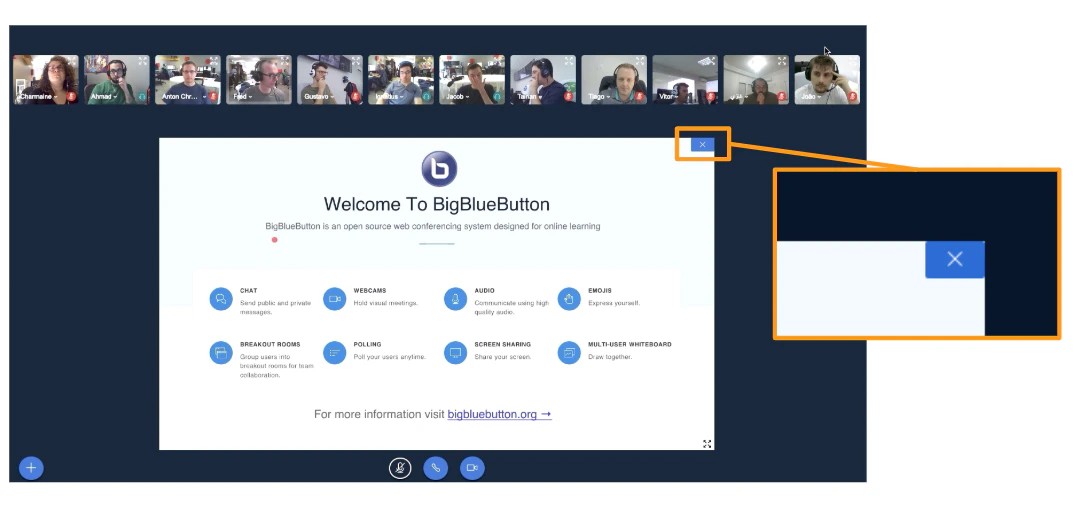
To close the presentation, select the X in the upper-right corner of the presentation area. The webcam streams expand to fill the full BigBlueButton interface.
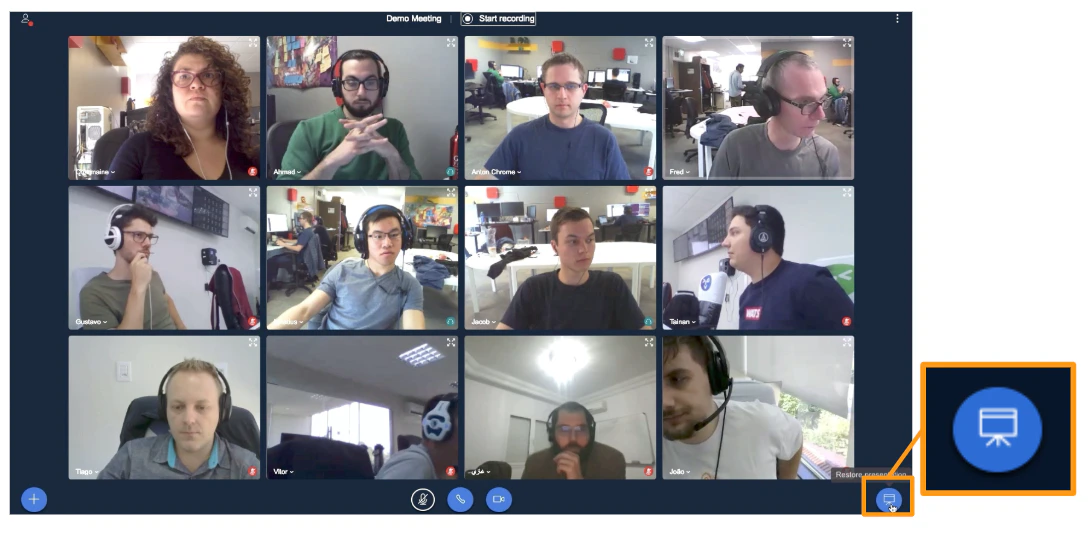
To restore the presentation, select the Presentation icon in the lower-right corner.
Make webcams larger
Any user can resize the ratio between the webcam strip and the presentation area in their own view.